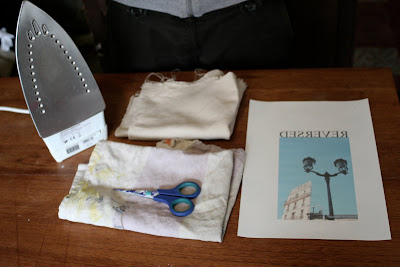
You will need...
- Iron (Please be careful as you know they get dangerously hot)
- Ironing board or towel
- Scissors (again please be careful, if you cut a finger you won't be able to complete this process)
- Canvas or whatever fabric you wish to transfer your image onto
- Special 'image transfer' paper! (purchased from most craft/stationary shop)
Step 1
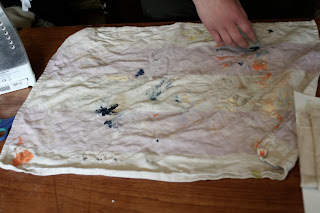 Prepare a surface that you can iron, if you do not have an ironing board then you can simply lay a towel down on a hard surface.
Then lay the material you wish to transfer your image onto on the prepared surface.
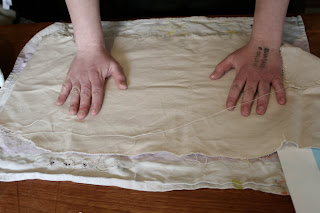 Make sure both surfaces are smooth and flat with no bumps just as you would before you begin domestic ironing!
Step 2
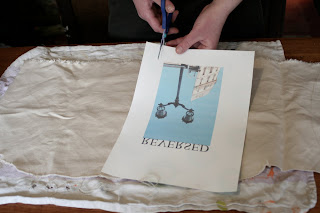 Cut out the desired image. Note this is not necessarily necessary, the heat of the iron reacts only with the actual ink on the paper. If you ironed over the surrounding white area nothing would be left behind on the canvas! Only the actual ink of the printed image nothing else will transfe
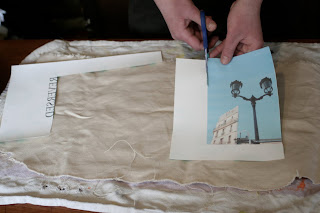 r.
r.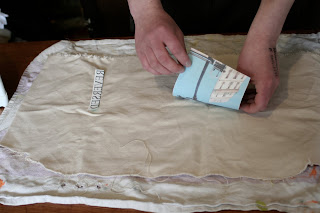 I personally cut it out so I have a better idea of where the image will be when I am positioning it on the canvas/fabric. If you are confident to do otherwise or leave something to chance then please do so.
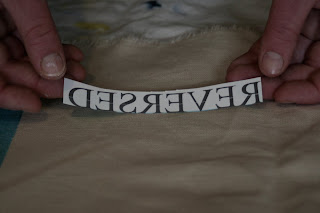 Remember this process produces only a reflection of the image or text. To reverse text or image you will have to use specialist computer software such as Adoble Photoshop.
Step 3
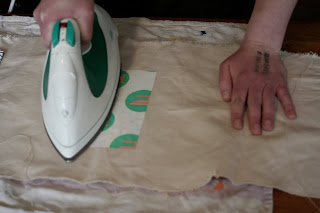 Once you are happy with the positioning of the image (placing it face down/image down) then you can begin ironing the back of the paper. This process will vary depending on the type of paper you have purchased. In this case I set the iron to its heat to the maximum and iron for sometime, till the colour icons on the back began to change colour (this may not be the case with your paper!)
Also it is worth noting that if you have already done a heat transfer on the same fabric and you are ironing next another transfer next to it then you must be careful NOT to run the iron over the finished one as it will damage the image, the heat of the iron w
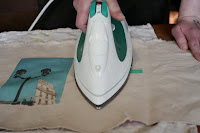 ith melt the ink previously done one. You can avoid this by covering the previously transferred image with thick paper but this is not adviced and must be done with care! Where possible avoid this situation with careful planning.
Step 4
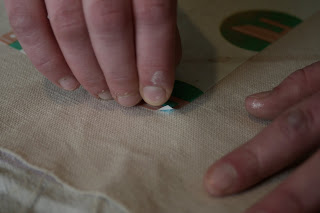 Once you are ready to peel the paper off the paper (Remember to read manufacturers instructions, could be a certain amount of time or could be a change in colour or something else) Then just gently pull at one corner and only peel a small amount just to confirm that the image has transferred (if it has not then simply flatten over what you have peel back and continue ironing. Otherwise just gently pull it all the way back.
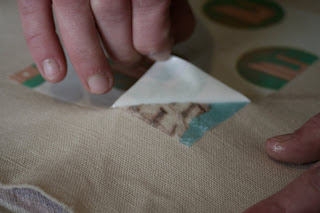
Remember the paper that you are peeling back has just had a very hot iron continuing running back and fourth over its surface and therefore will be hot so be careful, it is adviced to leave it a minute or two before peeling.
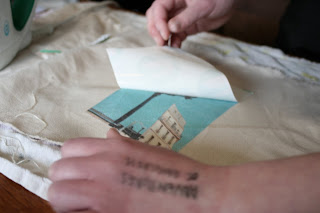


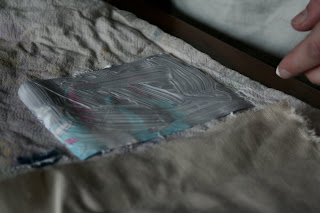

 Lightly flatten the image using the palm of your hand. Once feels smooth with the canvas/fabric then using a rolling pin or rolling pin equivalent, roll it flat, rolling in different directions for about a mintue or so.


