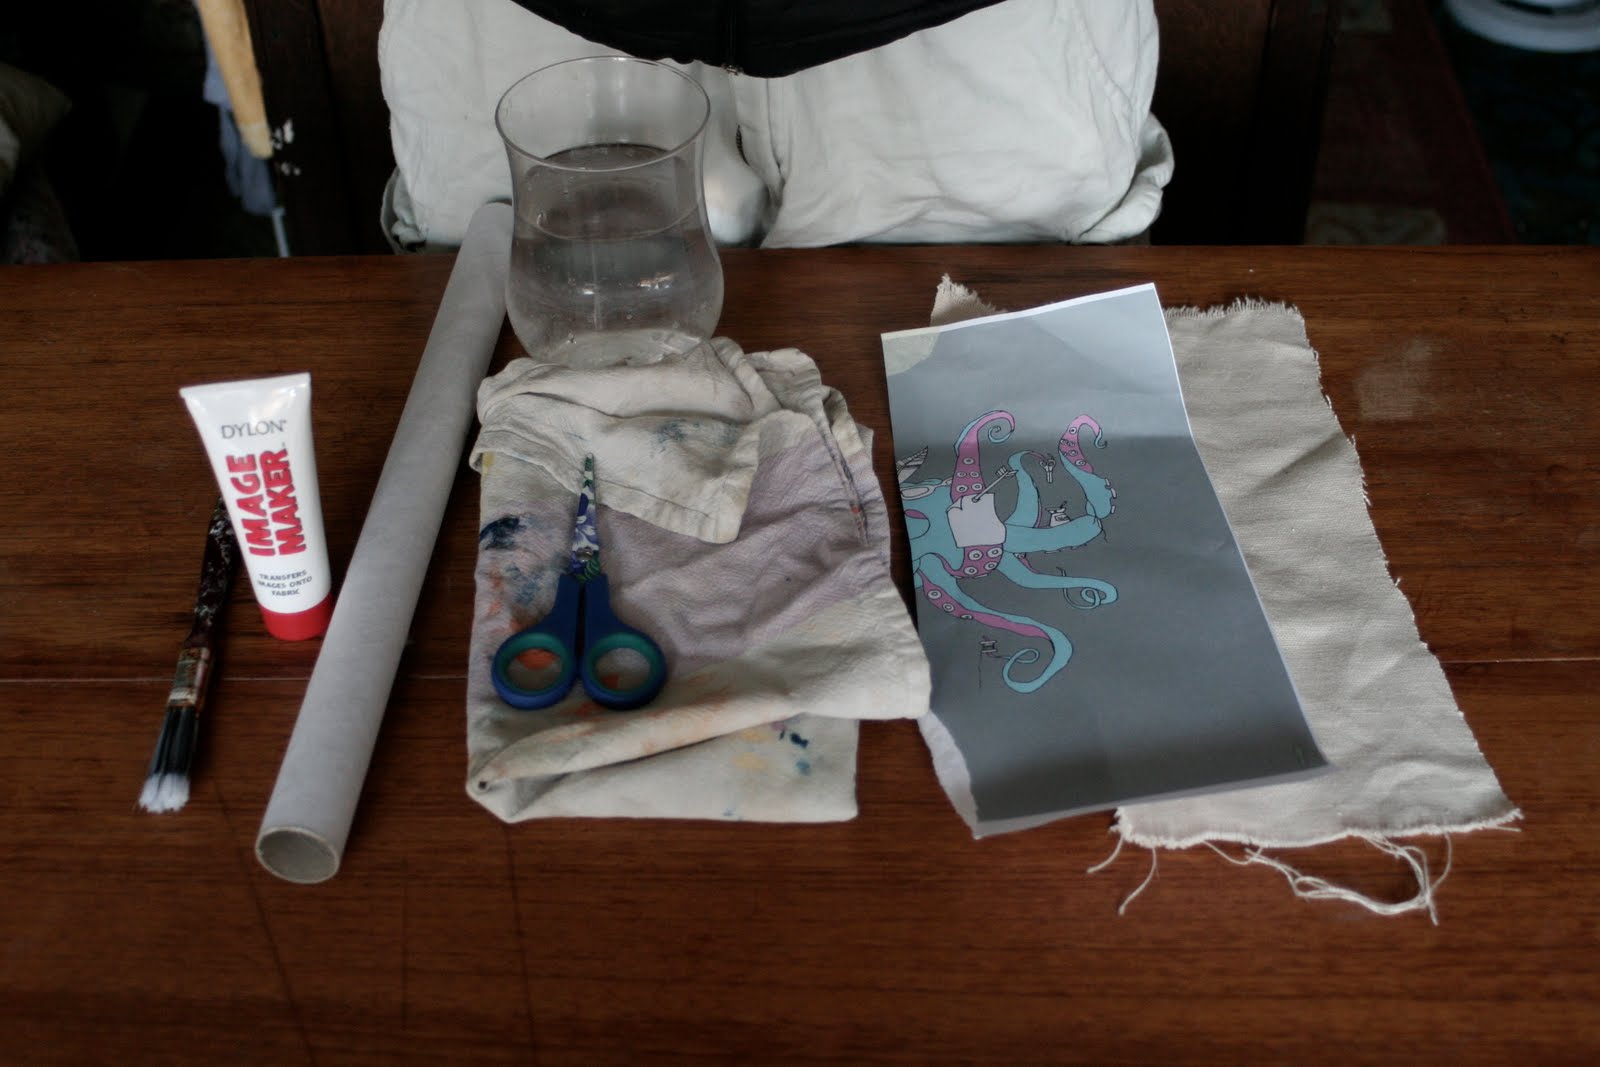
Wednesday 10 March 2010

How to...create a HEAT transfer

All pages of this website CAN be printed for personal use.


You will need...
  • Iron (Please be careful as you know they get dangerously hot)
  • Ironing board or towel
  • Scissors (again please be careful, if you cut a finger you won't be able to complete this process)
  • Canvas or whatever fabric you wish to transfer your image onto
  • Special 'image transfer' paper! (purchased from most craft/stationary shop)
Note: Image transfer paper will vary depending on brand or manufacturer so please follow the instructions that accompany your particular paper, for how to print your image/text onto the paper, also useful to remember that this process as the others create a reflection of your image/text so keep this in mind...

Step 1
Prepare a surface that you can iron, if you do not have an ironing board then you can simply lay a towel down on a hard surface.
Then lay the material you wish to transfer your image onto on the prepared surface.


Make sure both surfaces are smooth and flat with no bumps just as you would before you begin domestic ironing!


Step 2
Cut out the desired image. Note this is not necessarily necessary, the heat of the iron reacts only with the actual ink on the paper. If you ironed over the surrounding white area nothing would be left behind on the canvas! Only the actual ink of the printed image nothing else will transfe
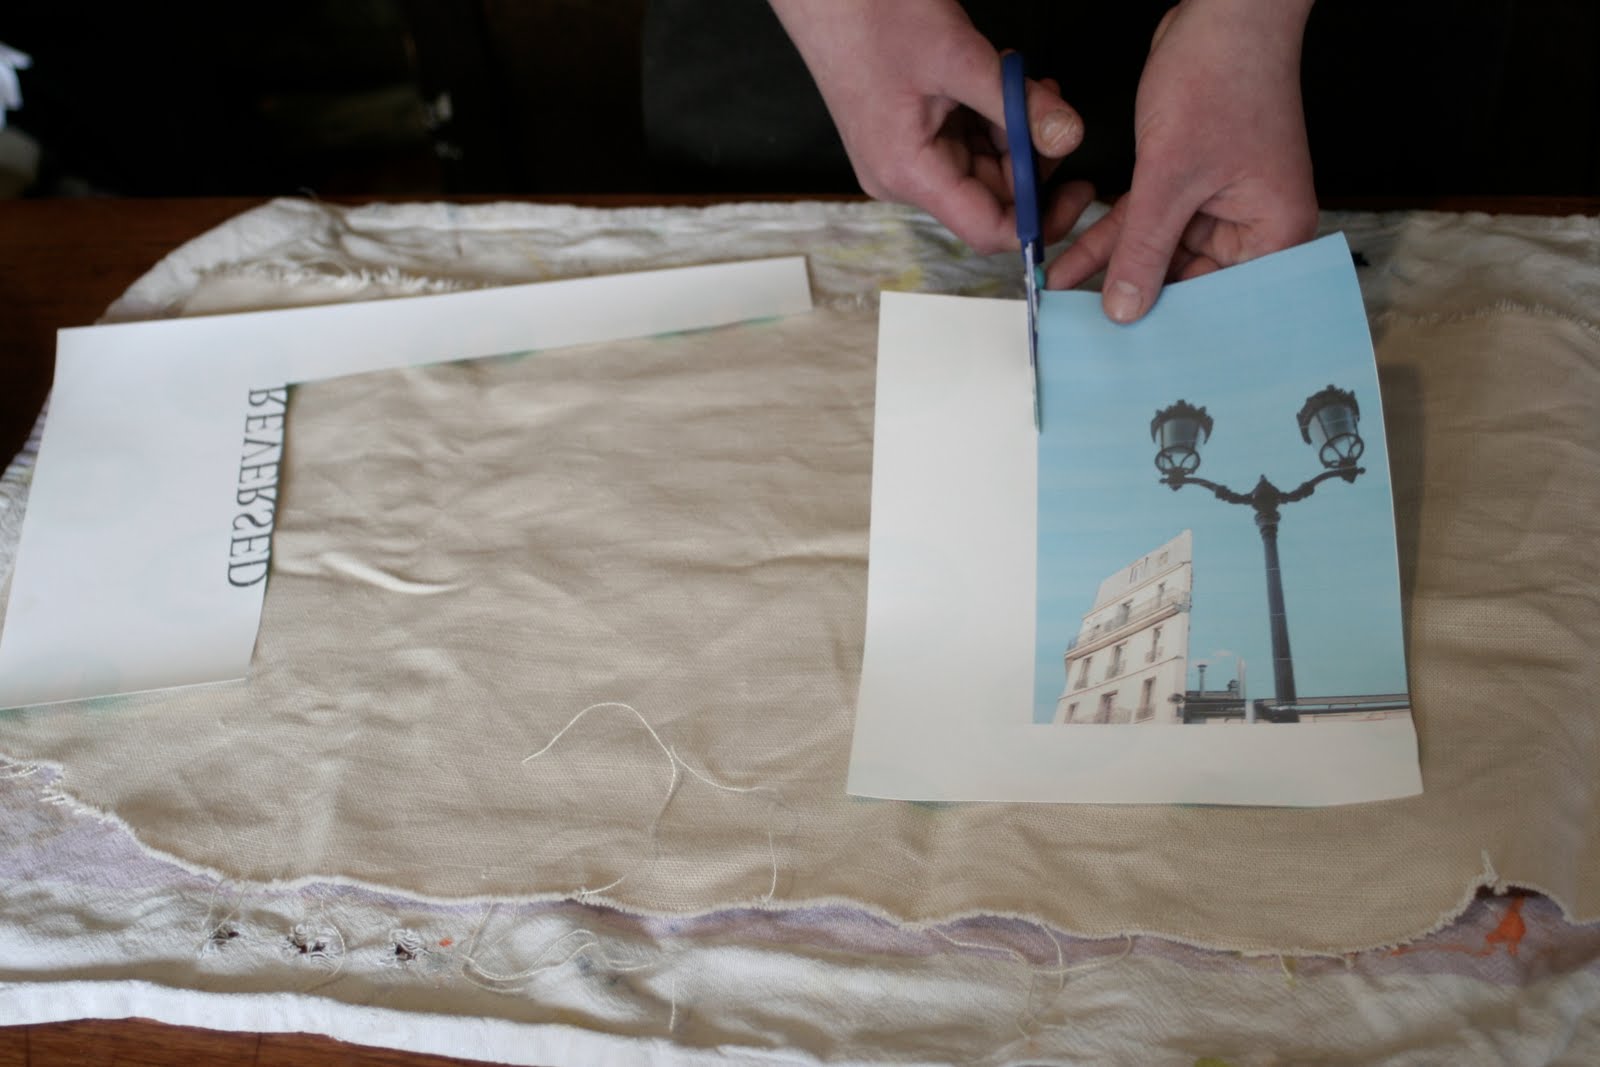
r.

I personally cut it out so I have a better idea of where the image will be when I am positioning it on the canvas/fabric. If you are confident to do otherwise or leave something to chance then please do so.

Remember this process produces only a reflection of the image or text. To reverse text or image you will have to use specialist computer software such as Adoble Photoshop.

Step 3
Once you are happy with the positioning of the image (placing it face down/image down) then you can begin ironing the back of the paper. This process will vary depending on the type of paper you have purchased. In this case I set the iron to its heat to the maximum and iron for sometime, till the colour icons on the back began to change colour (this may not be the case with your paper!)

Also it is worth noting that if you have already done a heat transfer on the same fabric and you are ironing next another transfer next to it then you must be careful NOT to run the iron over the finished one as it will damage the image, the heat of the iron with melt the ink previously done one. You can avoid this by covering the previously transferred image with thick paper but this is not adviced and must be done with care! Where possible avoid this situation with careful planning.


Step 4
Once you are ready to peel the paper off the paper (Remember to read manufacturers instructions, could be a certain amount of time or could be a change in colour or something else) Then just gently pull at one corner and only peel a small amount just to confirm that the image has transferred (if it has not then simply flatten over what you have peel back and continue ironing. Otherwise just gently pull it all the way back.

Remember the paper that you are peeling back has just had a very hot iron continuing running back and fourth over its surface and therefore will be hot so be careful, it is adviced to leave it a minute or two before peeling.

How to... transfer an image using 'IMAGE MAKER'

All pages of this blog CAN be printed for personal use.


You will need...


  • 'Image maker'


  • Image (Print-out, photocopy, magazine cutting, newspaper cutting.


  • Paint brush


  • Water


  • Canvas/any fabric


  • Rolling pin


  • Towel
Note: There may be varying instructions on the exact use of the 'image maker' depending on brand or manufacturer.

Step 1
Begin by preparing the image you wish to transfer, I am using an ink-jet print and cropping it down to a size and shape I like.
Then pour a healthy amount of image making (texture consistent with that of PVA glue) and spread it evenly over the entire surface of the image you wish the transfer with a paint brush. You should only just be able to make out the image though the thickness of the image maker. Now be quick, whilst it is still wet turn it over and place it face down on the material that you want to transfer it to.


Step 2

Lightly flatten the image using the palm of your hand. Once feels smooth with the canvas/fabric then using a rolling pin or rolling pin equivalent, roll it flat, rolling in different directions for about a mintue or so.


At this stage you should apply a fair amount of pressure and remember to clean up any excess image maker that is pushed out the sides of the image.


Step 3


Wait. You have to let the image maker dry completely. If it is still even a little wet then this process wont work. Depending of the temperture of the room its in etc etc it will be a least an hour or to. Ideally you will leave it over night.


Step 4


Once it is completely dry, get some water and cover the back of the image.
Make sure the water covers every bit of the paper not leaving any of it dry.


Then once the paper has been covered in water, dip your fingers in the water and gentely rub away the paper.


The paper will begin to disintegrate, coming apart from the fabric leaving only the actual printed image behind. But REMEMBER this process produces a reflect or mirror image of the image so any text will have to be reversed and depending on the image or its brief you MAY have to reserve the image as well. This will have to be done on a computer using specalist software such as Adobe Photoshop.


Now its up to you, when your just cleaning the image of the last, smaller bits of paper you can either just gentely brush the last bits off with your hand but at this stage you might start pulling the ink off the fabric or you can wait till it is completely dry and void of any water and then brush the rest off but if you do this you must be carefull that the bits of paper have not stuck to the image and thus picking them off might leave marks behind.

This is why it is very important to practice this process first! You will find the way that suits you or your finished piece the best.


Good luck.


How to... transfer an image using EMULSION

You will need...
  • Emulsion paint (any colour)
  • Paint brush
  • Photocopy of image you want to transfer (not ink-jet)
  • Card or canvas or whatever you wish to transfer the image (Not paper (too light/weak)
  • water
Step 1
Apply a light coat of emulsion onto the surface, in this case card. Make the sure the paint is consistently spread and is a fairly light layer, though you can apply it as thick as you wish you will just only have to wait longer for the surface to dry. Cover a surface the same size as the image that you are transfer or bigger. Only make it smaller if you wish to crop the image, alternatively you can cut the image down to the size you wish before beginning this process.

Step 2
Whilst the paint is still wet quickly lay the image face down on the bed of emulsion, being careful to remember which way up you wish the image to show. Remember also that the image will be a reflection of what you are looking at. Though this may make little difference with a photograph it is most important with text.
Once the image is in position, very carefully and lightly smooth en the surface to make sure there are no air bubbles or bumps and to ensure the whole photocopy has made a complete connect to the paint, the entire surface of the image must be touching the paint for it to transfer properly.


Step 3


Wait. The paint must be completely dry before you can move on to step 4. This process can be sped up with the aid of a hair dryer or radiator. Microwaves are not advices and please be careful not to start a fire. Remember that any paint surrounding the photocopy will dry quicker than the the paint under the image so be sure to always leave it longer, to be sure.

Step 4

Using your hand or a sponge (I perffer to use my hand as you get a better feel for how much the paper has absorbed the water) spread a fairly liberal layer of water over the whole image.


You barely need to touch the surface here, just stroke it with the water till you can start seeing the image through the back of the paper then...


Step 5

Begin to gently rub the surface of the paper and you will find the paper will come away from the painted surface leaving only the image behind! Rather magical really.


Continue this process all over the surface of the paper, removing all traces of white paper. If you wish for a move warn away or aged affect you can rub harder at certain areas and remove some detail of the actual image or even remove sections completely.
Once your happy with the amount of information left on the page use the palm of your hand gently brush off any bits of paper left behind.

Step 6
Version:1.0 StartHTML:0000000105 EndHTML:0000003024 StartFragment:0000002326 EndFragment:0000002988

Smile and present with pride!

REMEMBER: This is a technique that requires practice, please do not expect to get it perfect first time! Have a go first, have a play with it before you go on to your final piece! And enjoy the process...Good Luck...